Demystify the ADAS recalibration process. Learn the steps involved and gain confidence in this essential service after windshield replacement.
Advanced Driver-Assistance Systems (ADAS) have revolutionized vehicle safety by providing drivers with critical information and automated support to avoid collisions and maintain control of their vehicles. These systems rely on a network of sensors, cameras, and radar units often mounted on or near the windshield. When a windshield is replaced, these components must be recalibrated to ensure the ADAS functions correctly. In this blog, we will talk about the ADAS recalibration process and provide you with a comprehensive step-by-step guide to ensure your vehicle’s advanced safety systems function accurately after a windshield replacement.
Table of Contents
ToggleWhy ADAS Recalibration is Necessary
ADAS recalibration is crucial for several reasons. Modern vehicles are equipped with an array of advanced driver-assistance systems (ADAS) that rely on sensors, cameras, and radar units for optimal functionality. These components are often mounted on or near the windshield, and their alignment is critical for the precise operation of ADAS features such as lane departure warnings, adaptive cruise control, and collision avoidance systems. When a windshield is replaced, even the slightest deviation in the positioning of these sensors and cameras can lead to significant issues.
Lane departure warning systems use cameras mounted on the windshield to monitor lane markings. If these cameras are misaligned, the system may not accurately detect lane boundaries. This can result in false warnings or, worse, a failure to warn the driver when the vehicle unintentionally drifts out of its lane, increasing the risk of accidents.
Adaptive cruise control (ACC) relies on radar and cameras to maintain a safe following distance from the vehicle ahead. Misalignment of these sensors can cause the system to misjudge distances, leading to inappropriate acceleration or braking. This can compromise the safety of the driver and passengers and diminish the effectiveness of ACC.
Collision avoidance systems are designed to detect potential obstacles and apply the brakes if a collision is imminent. These systems depend on accurately calibrated sensors and cameras to function correctly. If these components are misaligned, the system may fail to recognize hazards or react inappropriately, potentially leading to accidents.
Blind spot monitoring systems use sensors to detect vehicles in the driver’s blind spots. Misaligned sensors can result in false alerts or missed detections, increasing the risk of collisions during lane changes.
Parking assist systems utilize cameras and sensors to help drivers park safely. Misalignment can cause the system to provide incorrect guidance, leading to poor parking performance or even minor collisions.
Equipment Used in ADAS Recalibration
ADAS recalibration requires specialized equipment to ensure precision. This equipment includes:
These are specific patterns and images used to align the ADAS sensors and cameras accurately.
2. Diagnostic Tools: These tools interface with the vehicle’s onboard computer to read error codes and calibrate the system.
3. Laser Alignment Tools: These ensure the correct positioning of calibration targets relative to the vehicle.
4. Specialized Software: Proprietary software provided by vehicle manufacturers or third-party developers to guide the recalibration process.
The Role of Technicians in ADAS Recalibration
Technicians play a crucial role in the ADAS recalibration process. They are trained to use specialized equipment and follow manufacturer-specific procedures to ensure accurate calibration. Their expertise ensures that the ADAS functions correctly, providing reliable safety features and enhancing the overall driving experience.

Step-by-Step ADAS Recalibration Process
- Pre-Calibration Diagnostics
Before starting the recalibration, technicians perform a pre-calibration diagnostic scan. This scan checks for any existing issues with the ADAS and records the current status of the system. It helps identify any faults that need to be addressed before recalibration and provides a baseline for comparison after the process is complete.
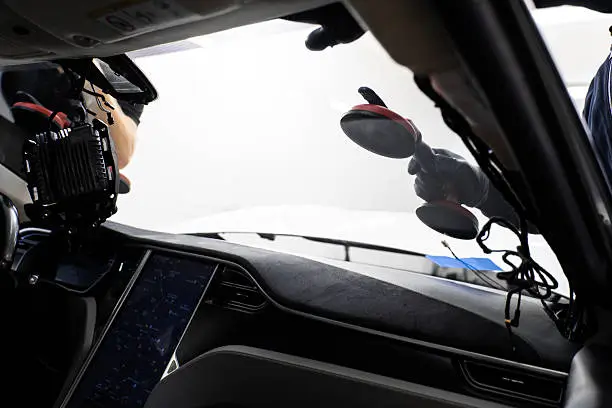
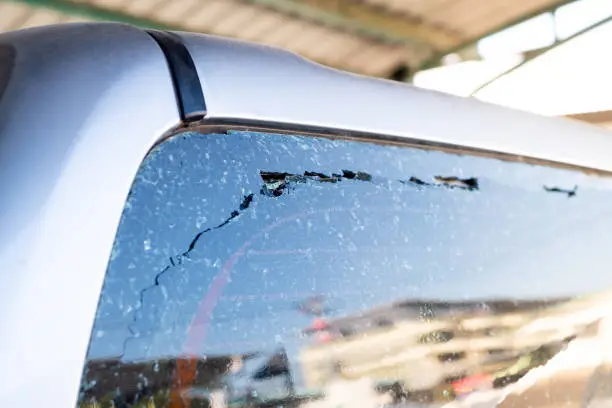
The first physical step involves windshield replacement. Technicians carefully remove the damaged windshield and install the new one, ensuring that all sensors and cameras are reattached correctly. This step requires precision to prevent any misalignment that could affect the ADAS.
Static Recalibration
Static recalibration is performed in a controlled environment, such as a workshop, where specific calibration targets are used. Here are the steps involved:
1. Setup: The vehicle is positioned at a predetermined distance from the calibration targets, ensuring proper alignment.
2. Target Placement: Calibration targets are placed at specific locations around the vehicle.
3. Calibration: Using specialized software, technicians recalibrate the sensors and cameras. The software guides the alignment process, ensuring each sensor is accurately positioned.
Dynamic Recalibration
Dynamic recalibration involves driving the vehicle on the road to allow the ADAS to recalibrate using real-world data. This process includes:
1. Driving Conditions: Technicians drive the vehicle under specific conditions, including speed, distance, and environmental factors, as prescribed by the manufacturer.
2. Sensor Adjustment: As the vehicle is driven, the sensors and cameras adjust to the real-world environment, fine-tuning their alignment and calibration.
- Post-Calibration Verification
After the recalibration is complete, a post-calibration diagnostic scan is performed to verify that the ADAS is functioning correctly. This scan compares the current system status with the pre-calibration data to ensure all issues have been resolved and the system is accurately calibrated.
Importance of Precise ADAS Calibration
Precise calibration of the ADAS is crucial for several reasons:
1. Safety: Accurate calibration ensures that all safety features function correctly, reducing the risk of accidents and enhancing driver and passenger safety.
2. Performance: Properly calibrated ADAS provides reliable performance, improving the driving experience and maintaining the vehicle’s value.
3. Compliance: Accurate calibration ensures compliance with legal and manufacturer standards, avoiding potential fines or legal issues.
Conclusion
ADAS recalibration is a complex but essential process that ensures the safety and performance of your vehicle’s advanced driver-assistance systems. By understanding the steps involved and the importance of precise calibration, you can appreciate the value of this service and the role it plays in maintaining your vehicle’s safety standards.
Ensuring your vehicle’s ADAS is recalibrated correctly is crucial for your safety and driving experience. Trust Aaction Auto Glass for professional and precise ADAS recalibration services. Visit us to get started!

